
How to Create a project archive and bulk download files with Procore Archive tool (Procore Web)
Background
The Project Archive tool allows users to create, customize, and export archives. When creating an archive, you can include data captured by specific project level Procore tools, specify the desired column layout, and define how to filter and group the data. After an archive is created, you can download it to your computer.
Steps
-
Navigate to the project level Project Archive tool.
The Project Archive page displays a list of all archives for the project. When you access this page for the first time, the list will be empty.
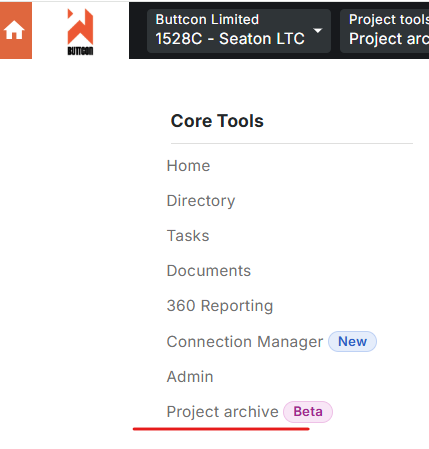
- Click Create in the top right corner.
-
Enter the following information:
Note: An asterisk (*) denotes a required field.
- Name*. Enter a unique name for the archive. The name must be at least three characters.
- Include Table of Contents. Mark this checkbox to include a table of contents in the archive.
-
Tools. Select one or more project level Procore tools for which you are creating the archive.
Note: To view tools, you must have 'Admin' level permissions or higher for the relevant tool.
- Click Create.
- Under the General tab, click on the subtab for the tool you want to configure.
- Configure your archive using the available options:
- Settings. Configure the settings for the selected tool. See Configure Settings for Procore Tools in Project Archives.
- Filters. Click the filters icon to select what you would like to filter by. See Configure Filters for Project Archives.
- Group By. Click the Group By button to group the tool's data by the specified option(s) (e.g., you may want to group data by the responsible contractor). See Configure Grouping for Project Archives.
- Configure. Click the configure icon to configure the columns on your archive. See Configure Columns for Project Archives.
-
Mark the checkbox next to each item to include specific items in your archive.
OR
Mark the checkbox in the first column heading of the tool's table to include all items in your archive.
- Repeat step 5 - 7 above for each of the selected tools when needed.
- Click Archive.